Welcome to my art blog. Join me in exploring art through drawing, painting, art journaling and mixed media; Using different tools, supplies and techniques; And finding inspiration.
Hello creative friends. So after creating the many journals from old books, I ended up with a lot of scraps. And instead of adding them to my scrap stash, I decided to make ephemera from them for use in my journals. Here are the first 3 videos showing some of the ephemera I made from the scraps.
I really like how all of these turned out and can't wait to use them in my journals. Thank you for stopping by and checking out my videos. I hope you are able to get inspired and make some ephemera yourself for your journals. Until next time, Happy Creating.
Hello creative friends. I hope everyone is doing well. I've been doing my best with everything that has been going on. Without going into too much, I was laid off from my job last March and a year and a half later still unable to find another job, so just trying to figure it all out. Anyway, I've decided that I need to focus more on my art and just let the chips fall where they may. One of the things I feel I needed to do is refill my stash of ephemera for using in journals, art journal pages and mixed media art. So I will be working on several things to do just that. So to start with I wanted to make some clusters that could be used in journals and other artwork, but I also wanted to create the focal images and other pieces to making the clusters with. So I used watercolors to paint different shapes and cut them out. Then I dug into my scraps for additional papers to use in making the clusters. Here is a picture of the clusters I made:
You can check out the video on my YouTube Channel to see how I made these here:
I really am happy with this little stash of clusters and can't wait to use them. Thank you for stopping by and I hope you make something creative today that makes you happy as well. Happy Creating. Take care.
Hello creative friends. I recently decided to create some ephemera for my stash by creating some coffee dyed papers, painted book pages and patterned deli papers so that whenever I decided to work on a project then I will have ready made papers in my stash. Here are the videos showing how I created these papers and created a stash for future use in projects and junk journaling.
Creating Papers for my Stash:
Easy Coffee Dyed Papers:
Gelli Print Papers:
Words for my Stash:
Pattern Book Pages:
Pattern Deli Paper:
Now I have a ready made stash of papers and words for use in future projects and junk journaling, without having to first make the papers I need to complete a project. I am happy with my stash of papers now and can't wait to start having fun making all of the projects that I wanted to make, but never did due to not having a stash of papers to work with. Thank you for stopping by and checking out my videos. I hope you make a stash of papers for yourself to play with as well. Until next time, Happy Creating.
Hello creative friends. I hope everyone is having a good week and staying safe. My week is going well. This week I have some more Inktober drawings I've done, a couple of art journal pages I completed for the LifeBook Taster week and a video showing how I fill up my Ephemera Journal that I created. Here are some of the Inktober drawings that I completed this week.
I also created a couple of art journal pages from the week of LifeBook Taster sessions. Here are the art journal pages I created.
And here is the video showing how I filled up my ephemera journal I created.
I've been having fun with Inktober and the LifeBook Taster sessions. And I love my new ephemera journal. Thank you for stopping by and watching my video. Until next time, Happy Creating.
Hello creative friends. I hope everyone is doing well and staying safe. We are doing good. This week I have an ephemera journal that I created to put some of my ephemera in and use when creating journal pages and other projects. I saw one that 49Dragonflies created and was using in one of her projects, so I decided to make one for myself. I decided to use an old book for the cover and some page protectors to create my pages and pockets to put my ephemera in. The plan was to keep the book cover as is and perhaps add some ephemera to the front to decorate it. However by the time I was done creating the inside, I noticed the spine was splitting so I ended up having to completely redo the outside of the cover as well to fix the spine an decorate it. The video was so long that I had to split it into 2 parts. The first part is showing how I created the inside and the pages, part 2 is how I fixed the cover and decorated it and then I also created a part 3 showing how I filled it up and the types of things I included in mine. Here is a picture of the complete journal filled up with ephemera.
And here is part 1 of the video showing how I created the pages, decorated the inside and bound the pages into the journal.I am really happy with my ephemera journal and know I will get a lot of use out of it. I now have one place where I can go to for a variety of ephemera to use in my projects. If interested the video that I saw from 49Dragonflies is located here: https://www.youtube.com/watch?v=QHpdwMsMHJIThank you for stopping by and watching my video. Please let me know if you have any questions. Until next time, happy creating.
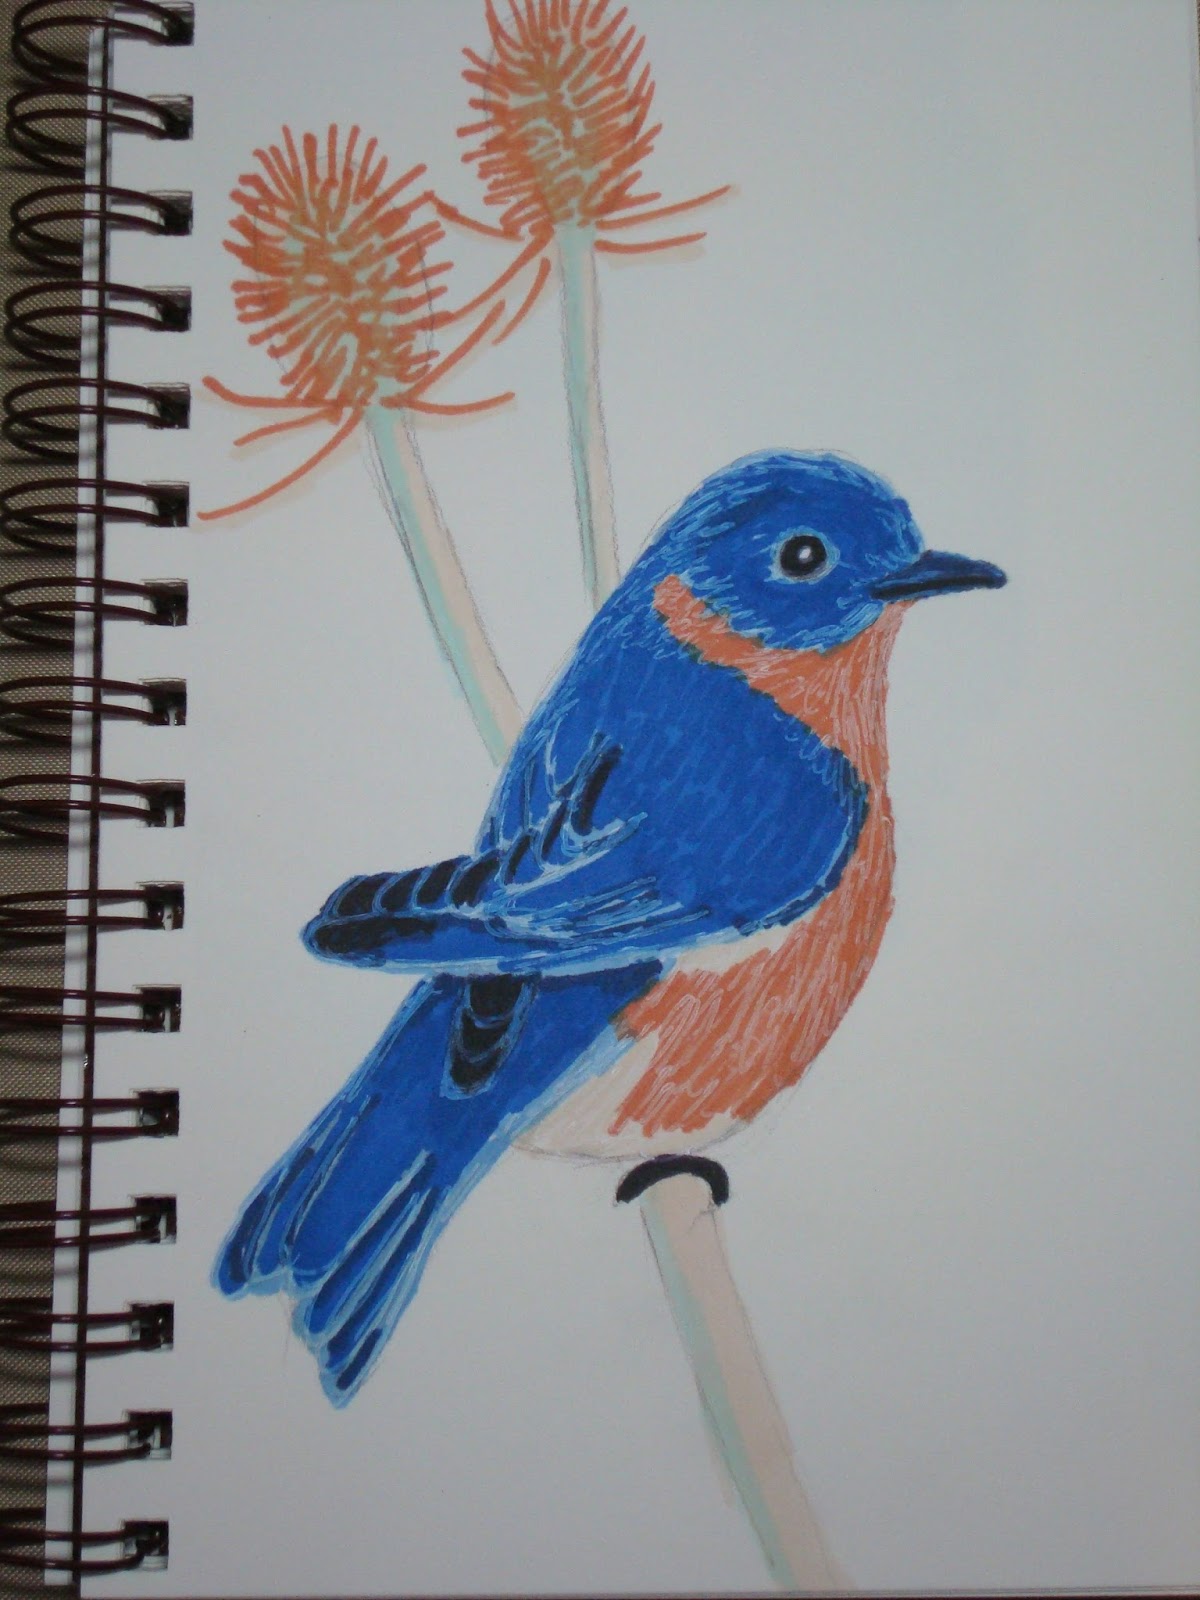
Hello creative friends. I hope everyone is having a good week. My week is going well. This week I have 3 drawings that I created while playing around with some new market sets that I bought. I bought a set of Ohuhu markers, several different sets of TomBow Marker sets and a set of Prismacolor markers. Here are pics of the 3 drawings I created.
Here is the video showing my review of these marker sets and how I created these pictures.
I really like all of these marker sets and had fun creating these drawings. Have you tried any of these yourself? If so I would love to hear what you think. Thank you for stopping by and hope you have a great week. Until next time, Happy Creating.
Hello creative friends. I hope everyone is having a good week. My week has been going well. This week I have another product review for a new watercolor set called Tropical Confections. Here is a pic of the new watercolor set I bought to add to my stash.
As a disclaimer I am not associated with this product, nor a paid advertiser.
And here is the video showing my review of this product.
I really like the colors in this watercolor set and can't wait to use them. Do you have or have you used this watercolor set? If so I would love to hear what you think. Thank you for stopping by and hope you have a great week. Until next week, Happy Creating.
Hello creative friends. I hope everyone is having a good week. My week has been going well. Today I have a video of a product review on a new watercolor set I got. It is called Artistrove, which I have never heard of before, and comes with 2 watercolor brushes. I bought this watercolor set to use as a travel set and I really like the vibrancy of the colors in this set.
As a disclaimer I am not associated with this product nor a paid advertiser.
Here is the video that I created on the review of this product.
I am looking forward to using this watercolor set on my next outing. Have you tried this watercolor set? If so I would love to hear what you think. Thank you for stopping by. I hope you have a great week. Until next time, Happy Creating.
Hello creative friends. Hope everyone is having a good week. My week has been good, but busy at work. Have you ever been at a loss for what to do on an art journal page? I think most art journaler's have at one point or another. Well I have been seeing where people have been making inspiration sticks and thought I would make a set for myself. I decided to go through my supplies and make a list so that I could put them on the sticks and that way use supplies that I have not used in a while or in some cases not at all. I painted the sticks with Dylusions paints and wrote on them with Posca pens. I also added techniques, like tape transfer, scrape in paint, etc. And shapes, like hearts, butterflies, etc. Here is a video showing how I made my inspiration sticks.
These will help me when I am feeling stuck or have no idea what to do on an art journal page. Over the next couple of weeks I will post art journal pages that I created using my inspiration sticks. Have you made a set of these yet? If not, you should, they are fun to use, even if you just want to mix things up. Thank you for stopping by. Until next time, happy creating.
Hello creative friends. Hope everyone is having a good week. Mine is going well. We weathered Hurricane Matthew well, thankfully. Just had some limbs fall on the roof, but no damage thankfully, and lost power for a couple of hours. But all in all we faired better than others. As promised, this week I have a video showing a tour of my art room and ideas for inexpensive organization of your art supplies. My art room was getting so cluttered with stuff that I was having trouble finding supplies that I needed when I needed them. So my husband put up shelves in my art room for my Birthday so that I could get better organized. Which forced me to go through everything and rearranged and reorganized my art room and supplies. Some ideas are what I've showed in a previous video several year ago, others are new storage items and organizational ideas. Some items were purchased inexpensively, some were free/recycled items and some were repurposed from stuff I already had around the house. And in this video I added an intro, even though I don't like my picture taken or especially being on video, so please forgive the nervousness. Here is the video of my room tour and inexpensive organizational idea:
Hope you like the video and that it gives you some ideas for organizing your art supplies inexpensively. I prefer spending money on art supplies, rather than containers and storage. And I prefer an organized room so that I can find what I am looking for when I need it. If you have any questions, or ideas of your own, please leave a comment and I will reply. Thank you for stopping by. Until next time, happy creating.
Hello creative friends. Hope everyone is having a good week. Mine is going well. This week I have a video showing how I clip magazine images and organize them for use on my art journal pages. There are several magazines that I like to use for images, words, phrases and quotes for art journaling. And I have various size boxes that I painted white and labeled for storing my images in. Then when I create an art journal page, I will search through my stash of images, words, phrases and quotes for items to add to my page. Sometimes I will decide on what images and words to add to a page and create the page around the images and words I pre-selected, but most often I will create a page and then search through my stash for items to add to the page. Here is the video showing how I organize magazine images for art journaling.
Hope you like the video and hope this helps you to organize your magazine images as well. Next week I will be posting a video showing a tour of my art room and inexpensive organizational options. Thank you for stopping by. Until next time, happy creating.
Hello creative friends. Hope everyone had a great holiday and new year. Mine was a challenge. With recovering from surgery, the holidays, family, work and several classes I had to finish for work to renew my certification, I have been having some difficulty doing anything creative. I decided this weekend to finish up a couple of projects that I started. One was an art journal page with my word for 2016: Renew. I chose the word Renew for this year so that it will remind me to renew my soul, my creativity and my commitment to my art. I started this page three weeks ago and have been struggling with completing it. My husband bought me a Silhouette Cameo machine for Christmas, so I took a hand cut Lion stencil I created last year, scanned it into my computer and made a cut file for cutting other stencils of it in different sizes. I cut this 6x6 stencil of it, however I had some difficulty figuring out the right thickness of plastic to use with the machine for cutting the stencil. I tried using plastic material for making stencils, but it did not cut all the way through, even after going over it several times. So I found a thinner plastic to use for cutting the stencil from. Then I used the stencil to create my art journal page with my word for the year. However, I struggled with this journal page and was not happy with how it was turning out, so I went back and added more to it over the past two weekends. I still don't feel this is one of my better journal pages, but decided I was ok with it and decided to call it finished. Here are some pictures of the journal page I created using my new lion stencil:
And here is a video showing how I made this journal page:
The other project I finished this weekend was another journal for my Etsy shop. I started the journal before Thanksgiving and it has been sitting on my desk ever since. I decided this weekend to get it finished and posted to my Etsy shop at https://www.etsy.com/shop/JoysArt360 (if interested in seeing all the journals that I have for sale).
Here are pictures of the new floral journal I created:
Hope everyone is having a good year so far and is renewing their spirit and commitments. Until next time, Happy Creating.
Hello creative friends. I hope everyone is doing well. I created an art journal page based on a dream I had. Sometimes when I have trouble getting my mind to slow down so I can sleep, I focus on doing something artistic and sometimes when I fall a sleep, I have dreams about art. This was one such journal page I dreamed about. I also made another hand cut stencil to use on the background of this journal page. I drew two faces to add to the page and added a quote I found in my stash on Friendship to finish the page. I used acrylic paints for the background and water colors to paint the faces. I also used a Stabilo Pencil to outline and shadow the circles and outline the quote. And I used a Signo white pen and a bit of water to highlight the circles. Here is the journal page I created:
This page turned out better than I dreamed of, pun intended. I also created the following video showing how I created this journal page.
I hope you enjoy the video and that it inspires you. Have you create a journal page based on a dream you've had? If so I would love to hear about it so please leave me a comment. Until next time, happy creating.
Hello creative friends. I hope everyone is doing well. This past weekend and the weekend before I have been working on better organizing my craft room and make more space. I recycled shoe boxes, files boxes and other types of mailing boxes I had. And to make them look more cohesive and less of a mish mosh, I painted them all white and added tags to them so I can easily see what is in each. I also recycled strawberry baskets, fruit containers, take out containers and baby wipe containers. I found items around my house to repurpose and found other items at Goodwill, yard sales, Hobby Lobby, Harbor Freight and Lowes. My husband even got involved helping me rearrange the room, putting together a cart we bought, on sale of course, and building me some more shelves. You don't have to spend a lot of money to organize your craft supplies. There are lots of creative ways to organize everything for little to no cost. I put together this quick video showing how I recycled items and organized my craft supplies.
Do you use recycled items in your scrap room to organize your supplies? If so I would love to hear about how you use recycled items to organize your craft supplies. Until next time, happy creating.
Hello creative friends. I hope all is well in your world. This past week I made a new hand cut stencil of two birds. Here is the bird stencil I created.
And then I made a journal page using the stencil. I used acrylic ink to stamp through the stencil on a background page that I had previously made using fabric squares and Gesso. I traced the birds with a black sharpie pen and added a quote from my stash that reads: "It is never too late to be what you might have become" - by George Eliot. I may have to go back and trace the letters in black to help them stand out better.
Then I decided to add a quote and some stamping to finish a page I started before using another hand cut stencils that I created. I used spray inks through the stencils on a colored paper towel background.
Then I decided to just play with my supplies and make marks and do some stamping with purchased stamps and found objects.
I really like the first one and the third one, not so much the second one. I plan to do more with the third one, but not sure what to do with the second one. The second one is a bit of a mess and I am not sure if I want to scrap it, try to do more with it or just leave it. So what have you done lately? Have you tried cutting your own stencils? I would love to hear about it. It is much easier to cut your own stencils than I thought it would be and am now hooked. I already have other stencils I am planning to cut. Until next time, happy creating.
Hello creative friends. Hope all is well in your world. I have not been feeling well lately at all myself. The weekend before last I suffered from a bout of food poisoning and did not do much by way of art. I was feeling better this weekend and created more art, however I started not feeling well again Sunday night, have been home for the past two days from work and still not feeling very well. But I wanted to get this posted since I hadn't posted in a couple of weeks and I'm not sure when I will post again because I am going out of town this weekend.
So the weekend before last the only art I managed to do was to cut this one stencil.
And played with it a bit and created this journal background page first spraying through the stencil, then printing the reverse on the other page.
This past weekend I played around some more with cutting my own stencils and created three more stencils.
And played with them in my journals, creating the following pages. The first one I sprayed through the stencil on a background page that I previously covered with inked up, used paper towels. Then I used the lion stencil to print the reverse image in another journal.
This was my first time cutting my own stencils and I have been wanting to cut my own stencils for a while now and am pleased with what I have created so far. I will definitely be cutting more of my own stencils going forward. Have you ever cut your own stencils? If so I would love to hear about it and see what you have created with them. Until next time, happy creating.
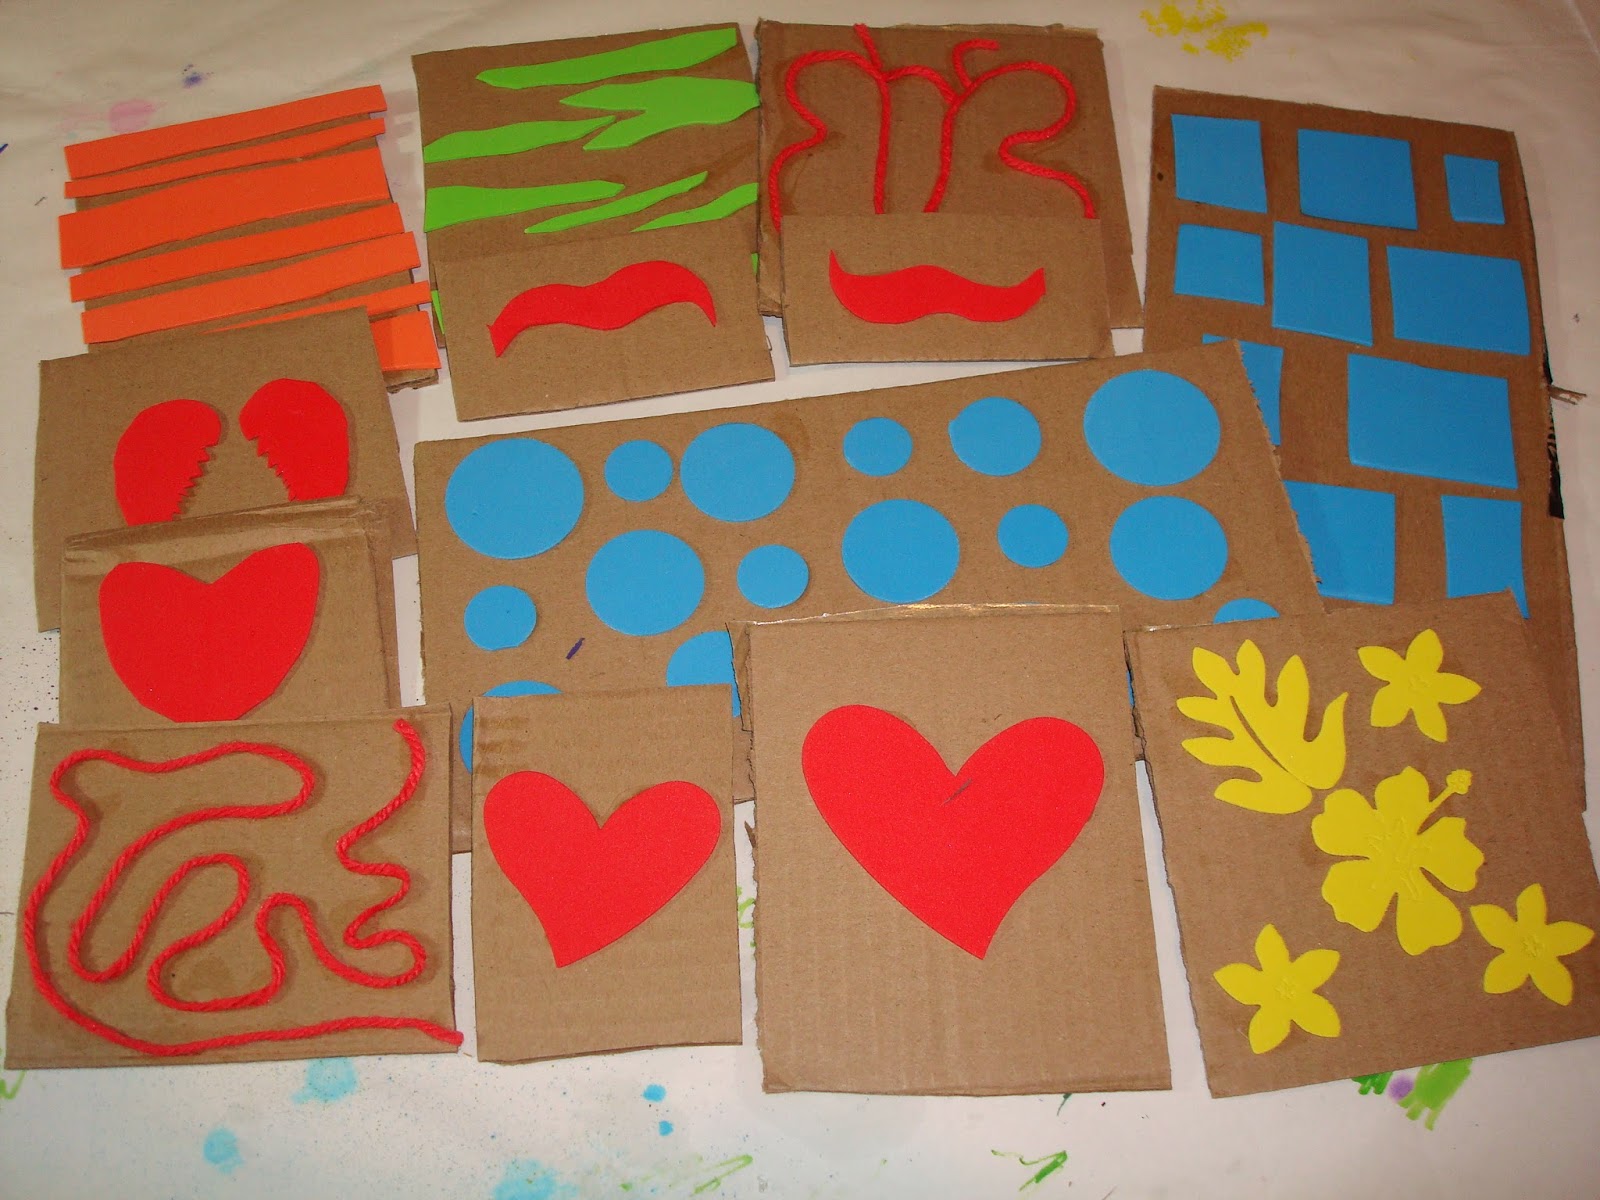
Hello creative friends. This weekend my granddaughter came to stay and we had lots of fun making our own stamps, playing with them and creating journal pages with them. I bought some foam sheets from the dollar store, dug up some leftover yarn and cut up a cardboard box so that we could make our out homemade stamps. We cut and punched shapes and used yarn to glue designs onto the cardboard pieces. Here are pics of the stamps we made.
Here are the stamps that I made:
And the stamps my granddaughter made:
Then we played with the stamps in our art journals. I stamped and stenciled this background onto a background page that I had added dictionary pages to:
And my granddaughter created this journal page with the stamps she made.
Then we completed a Life Book page using our new stamps. The first one is mine and the second one my granddaughters.
Then we complete another Life Book page, since we were having so much fun creating. The first one is mine and the second one is my granddaugters.
We had so much fun this weekend making our own stamps and creating journal pages together. Have you made your own homemade stamps? If so I would love to hear about it and how you use your homemade stamps in your art journal pages. Until next time, happy creating.