Welcome to my art blog. Join me in exploring art through drawing, painting, art journaling and mixed media; Using different tools, supplies and techniques; And finding inspiration.
Hello creative friends. So after creating the many journals from old books, I ended up with a lot of scraps. And instead of adding them to my scrap stash, I decided to make ephemera from them for use in my journals. Here are the first 3 videos showing some of the ephemera I made from the scraps.
I really like how all of these turned out and can't wait to use them in my journals. Thank you for stopping by and checking out my videos. I hope you are able to get inspired and make some ephemera yourself for your journals. Until next time, Happy Creating.
Hello creative friends. I hope you are doing well. Recently I participated in an ATC swap in Jennibellie's art group. Here is the recorded video showing how I made the ATC cards for the swap.
I really liked the way these turned out and I made extras so that I could have samples in my stash as well. Thank you for stopping by and watching my video. Until next time, Happy Creating. Take care.
Hello creative friends. I decided to decorate some rolodex cards. I have a rolodex I got from my husband so that I can decorate the cards. Here is the video showing how I decorated some of the cards.
I had fun decorating these cards and look forward to decorating more. I've seen other peoples rolodex cards that they decorated and so I wanted to do some myself. Have you decorated rolodex cards before? I would love to see them. Thank you for stopping by and watching my video. Happy creating.
Hello creative friends. I hope everyone is doing well and staying safe. We are doing good. This week I have an ephemera journal that I created to put some of my ephemera in and use when creating journal pages and other projects. I saw one that 49Dragonflies created and was using in one of her projects, so I decided to make one for myself. I decided to use an old book for the cover and some page protectors to create my pages and pockets to put my ephemera in. The plan was to keep the book cover as is and perhaps add some ephemera to the front to decorate it. However by the time I was done creating the inside, I noticed the spine was splitting so I ended up having to completely redo the outside of the cover as well to fix the spine an decorate it. The video was so long that I had to split it into 2 parts. The first part is showing how I created the inside and the pages, part 2 is how I fixed the cover and decorated it and then I also created a part 3 showing how I filled it up and the types of things I included in mine. Here is a picture of the complete journal filled up with ephemera.
And here is part 1 of the video showing how I created the pages, decorated the inside and bound the pages into the journal.I am really happy with my ephemera journal and know I will get a lot of use out of it. I now have one place where I can go to for a variety of ephemera to use in my projects. If interested the video that I saw from 49Dragonflies is located here: https://www.youtube.com/watch?v=QHpdwMsMHJIThank you for stopping by and watching my video. Please let me know if you have any questions. Until next time, happy creating.
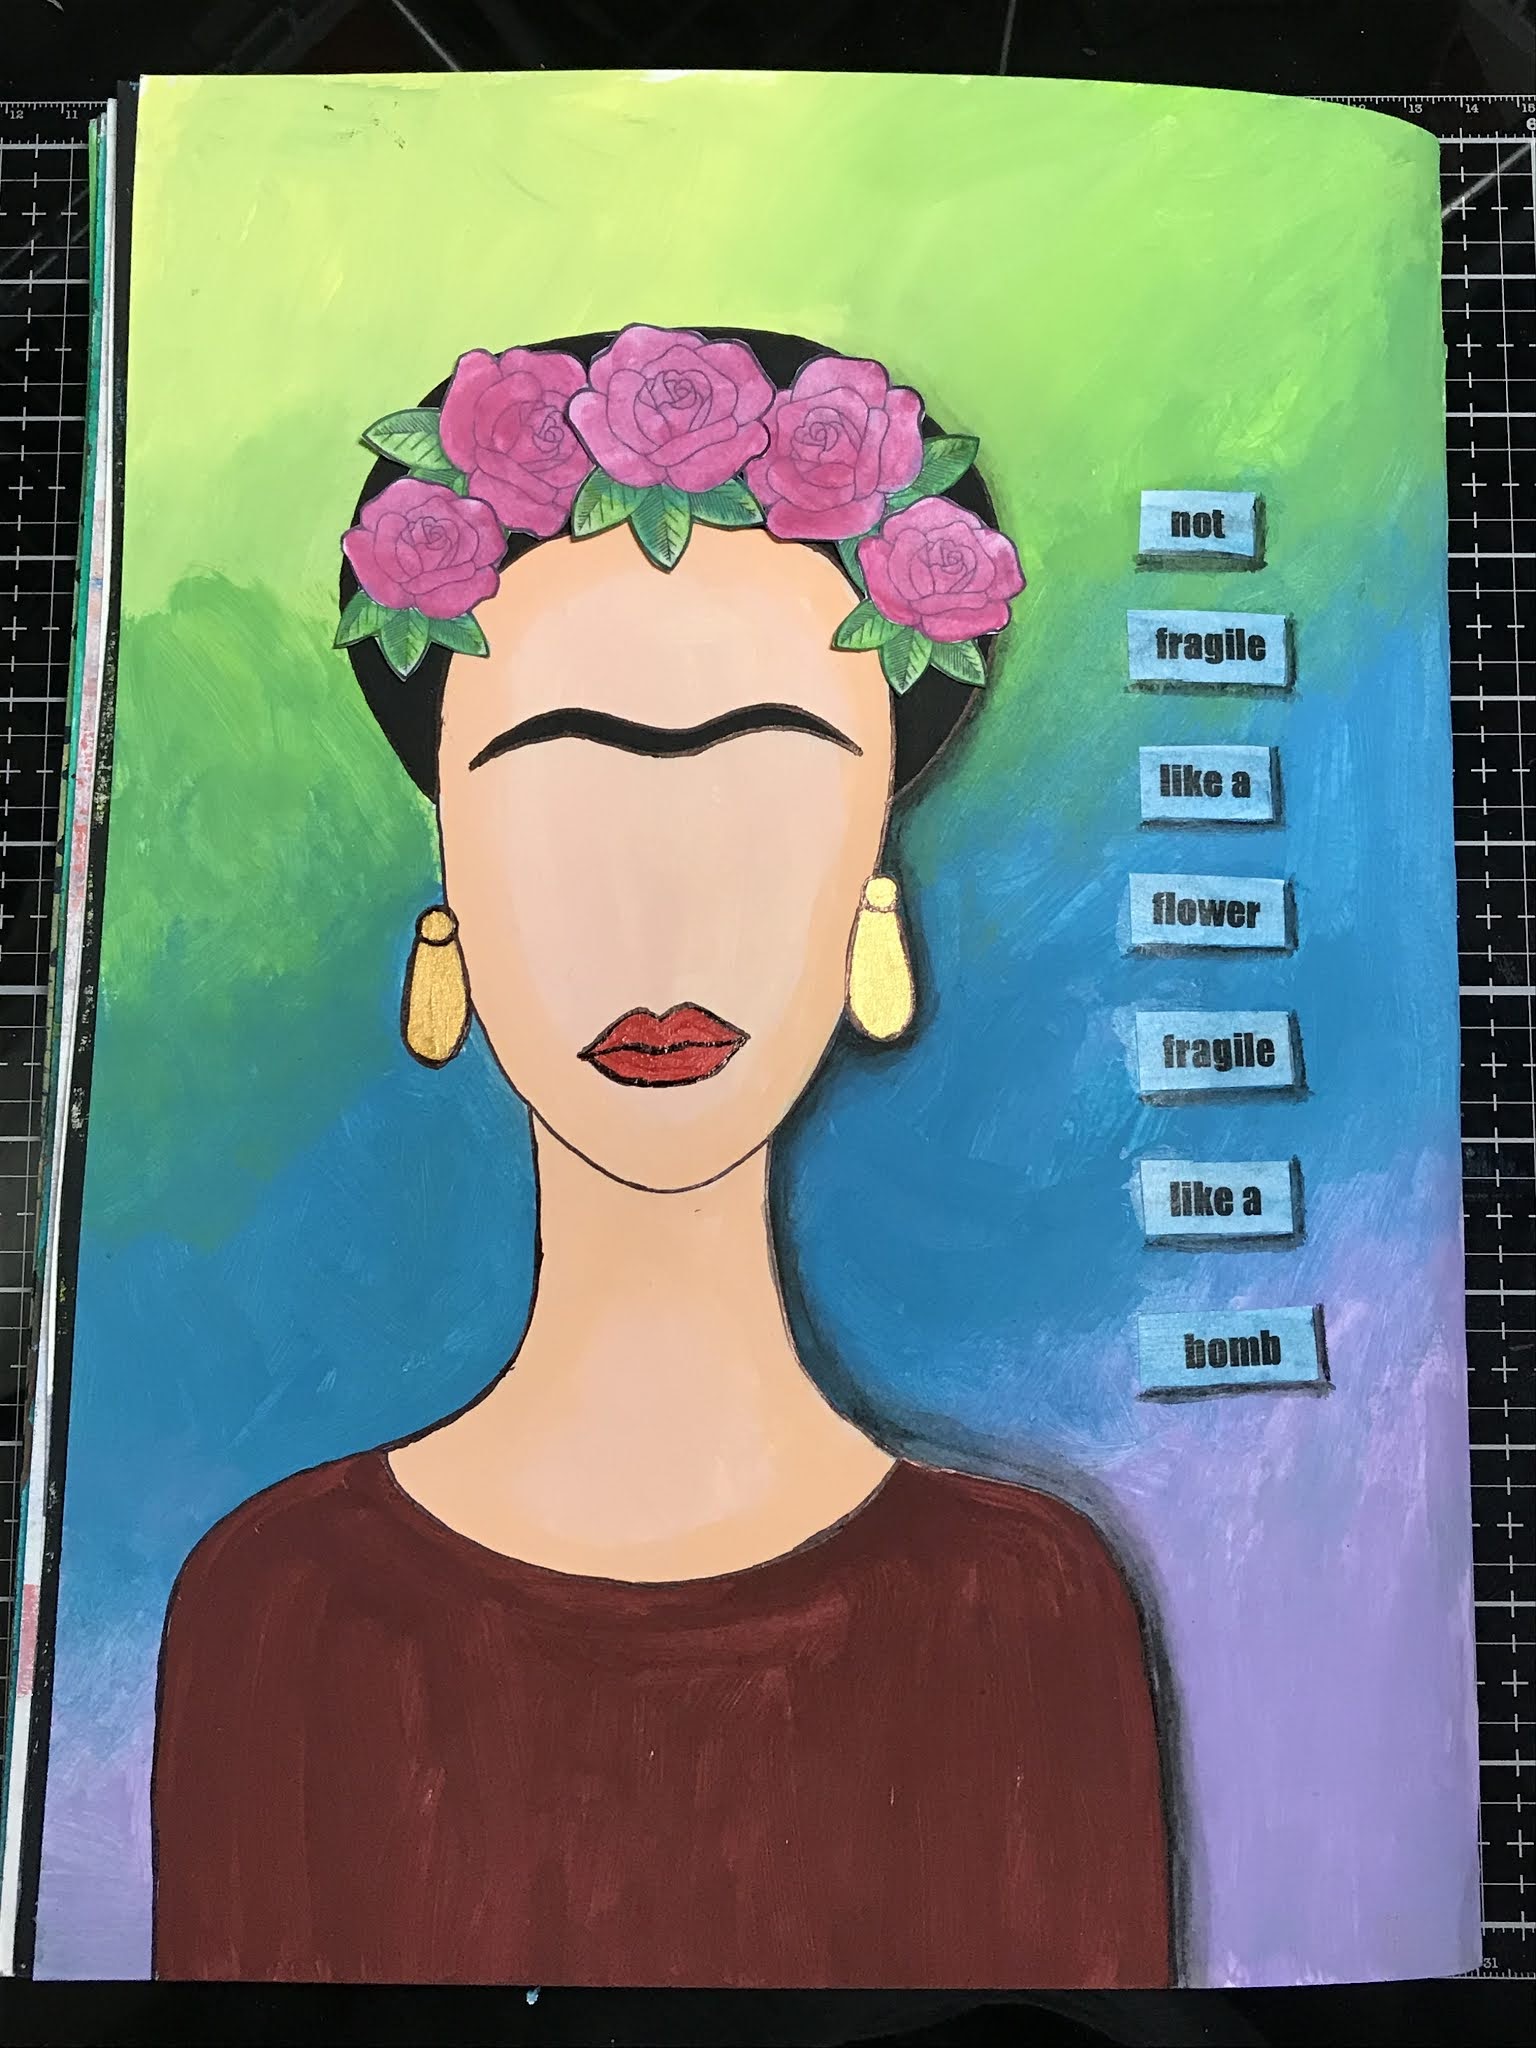
Hello creative friends. I hope everyone is doing well and staying safe. Me and my family are doing well. I'm still working from home due to covid and no word on when we will return to the offices. Which I'm not complaining, so no rush. You would think that since I don't have the long commute to work that I would have more time to do art, but for some reason I am finding it hard this year to get inspired and motivated to do much art. I'm still trying to keep up with the Book of Days that I signed up for this year and the Dina Wakley year of gratitude, but not doing well with either. I've had a lot going on this year though with the surgery, therapy and all. Anyway, here are some of the recent pages I've done for the book of days.
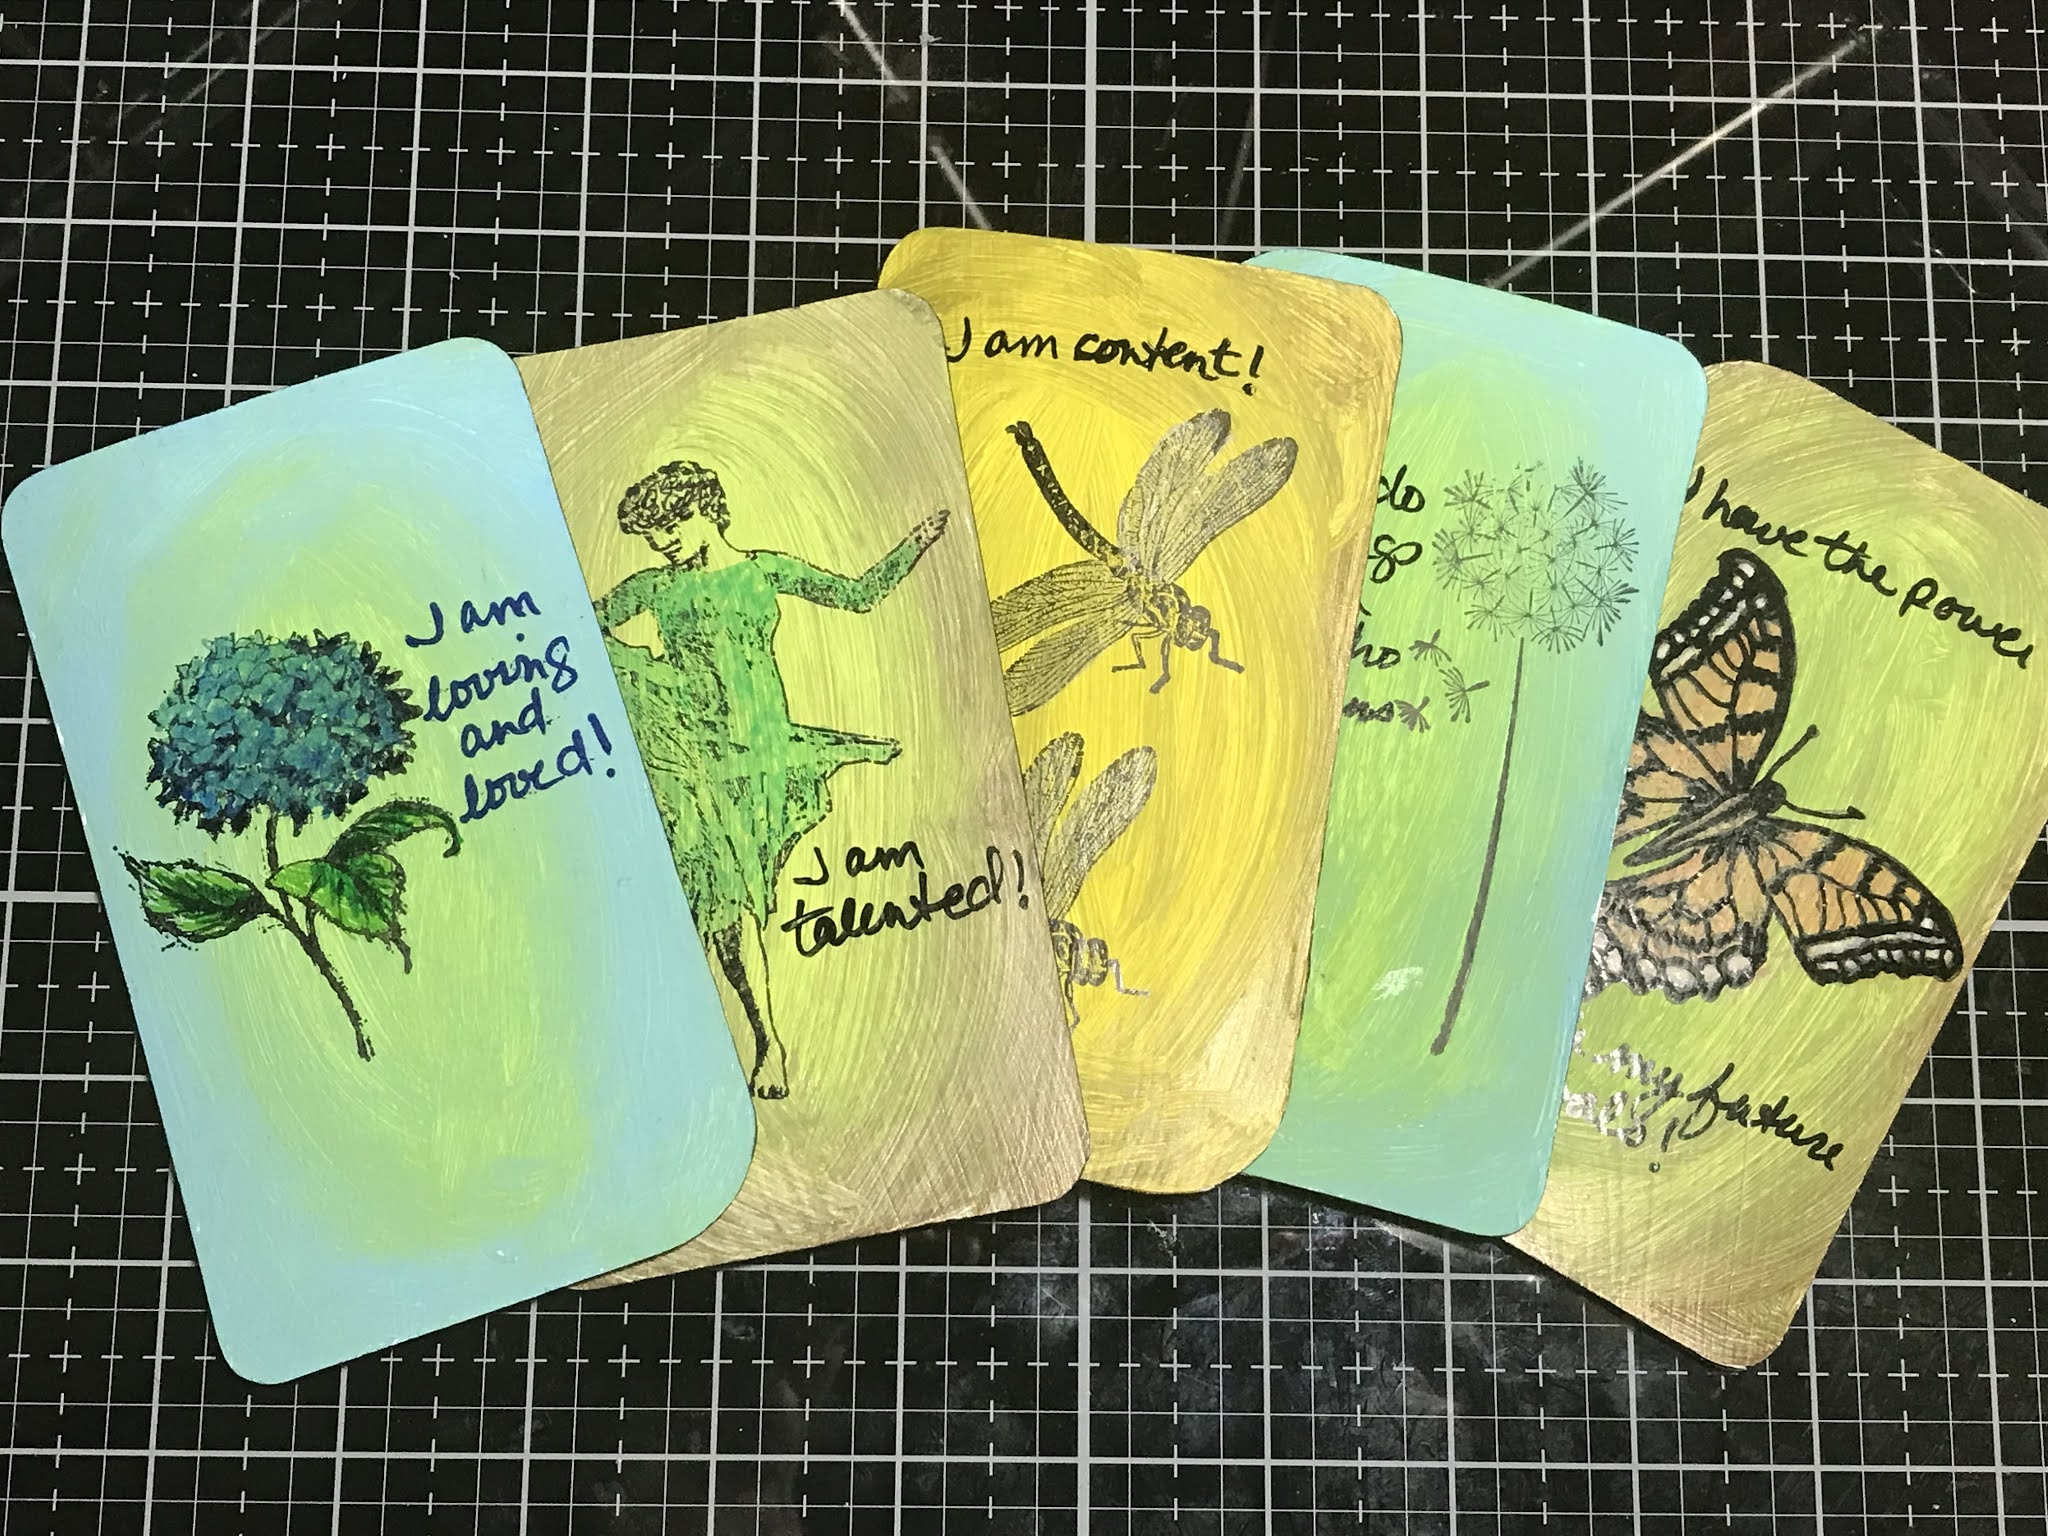
I also managed to complete a project that I've been thinking about doing for more than a year now and that is making my own affirmation cards. I bought some cards from the dollar store for a kids game, put gesso on one side, scrapbook paper on the other side, and then proceeded to paint, stamp and color the side with the gesso to create my affirmation cards. Here is a picture of the whole deck and some pics of some of the cards I created.
And here is the video showing how I made these card.
I really like how these cards turned out and had a lot of fun creating them. Thank you for stopping by and watching my video. Stay safe and until next time, Happy creating.
Hello creative friends. I hope everyone is having a good week. My week is going well. This week I have 5 tags that I created using a new set of Gouache paints, stencils, stamps, watercolor paint pens, ink pads and raffia. I've never used Gouache before and decided to buy a set and play around with them on some tags. Here are pictures of the tags I created.
And here is a video showing how I created these tags.
I had a lot of fun creating these tags and playing around with Gouache. I like how opaque they are and that they are water based, but not sure I like how they dry to a chalky finish. Have you ever used Gouache? What do you think of them? I plan on playing around some more with these and see what else I come up with. Thank you for stopping by and watching my video. Until next time, Happy Creating.
Hello creative friends. I hope everyone is having a good week. My week has been going well. This week I have a mini canvas that I created playing around with acrylic paints, paint pens and ephemera from my stash. I had some leftover napkins from another project that had butterflies on it, so I glued those of the butterflies onto the canvas. I then added some scraps of pattern paper and music note paper. And then played around with acrylic paints and paint pends to add marks on the canvas. And finally added the word Play from a magazine. Here is a picture of the mini canvas I created.
And here is the video showing how I created this mini canvas.
I had fun creating this mini canvas and I have more mini canvases to play with. Thank you for stopping by and watching my video. Until next time, Happy Creating.
Hello creative friends. I hope everyone is having a good week. My week is going good. I recently purchased the Tim Holtz Tonic Studio Media Mat and also purchased the Tonic card making kit along with it and created a card using the kit. Here is a picture of the card I created.
And here is a video showing how I created this card.
I really like the way this card turned out and it was fun to make. Thank you for stopping by and watching my video. Until next time, happy creating.
Hello creative friends. I hope everyone is having a great week. My week has been going well. This past weekend I was very busy and spend some time in my art room creating. On Saturday we went to an Art Fair and Pow Wow and had fun watching native dancing.
And on Sunday I created a portfolio for my loose leaf watercolor drawings and some watercolor backgrounds and a drawing of a tiger. Below is the video showing how I created my portfolio.
Video of how I created the Portfolio for my drawings.
I recorded how I created the watercolor backgrounds as well, but have not yet finished creating and posting the videos for that. I will have that posted by next week. I really like the way the portfolio and the backgrounds came out and are excited to get busy creating, as you can see from my tiger drawing. I hope everyone has a great Thanksgiving and a great week. Thank you for stopping by. Until next time, Happy Creating.
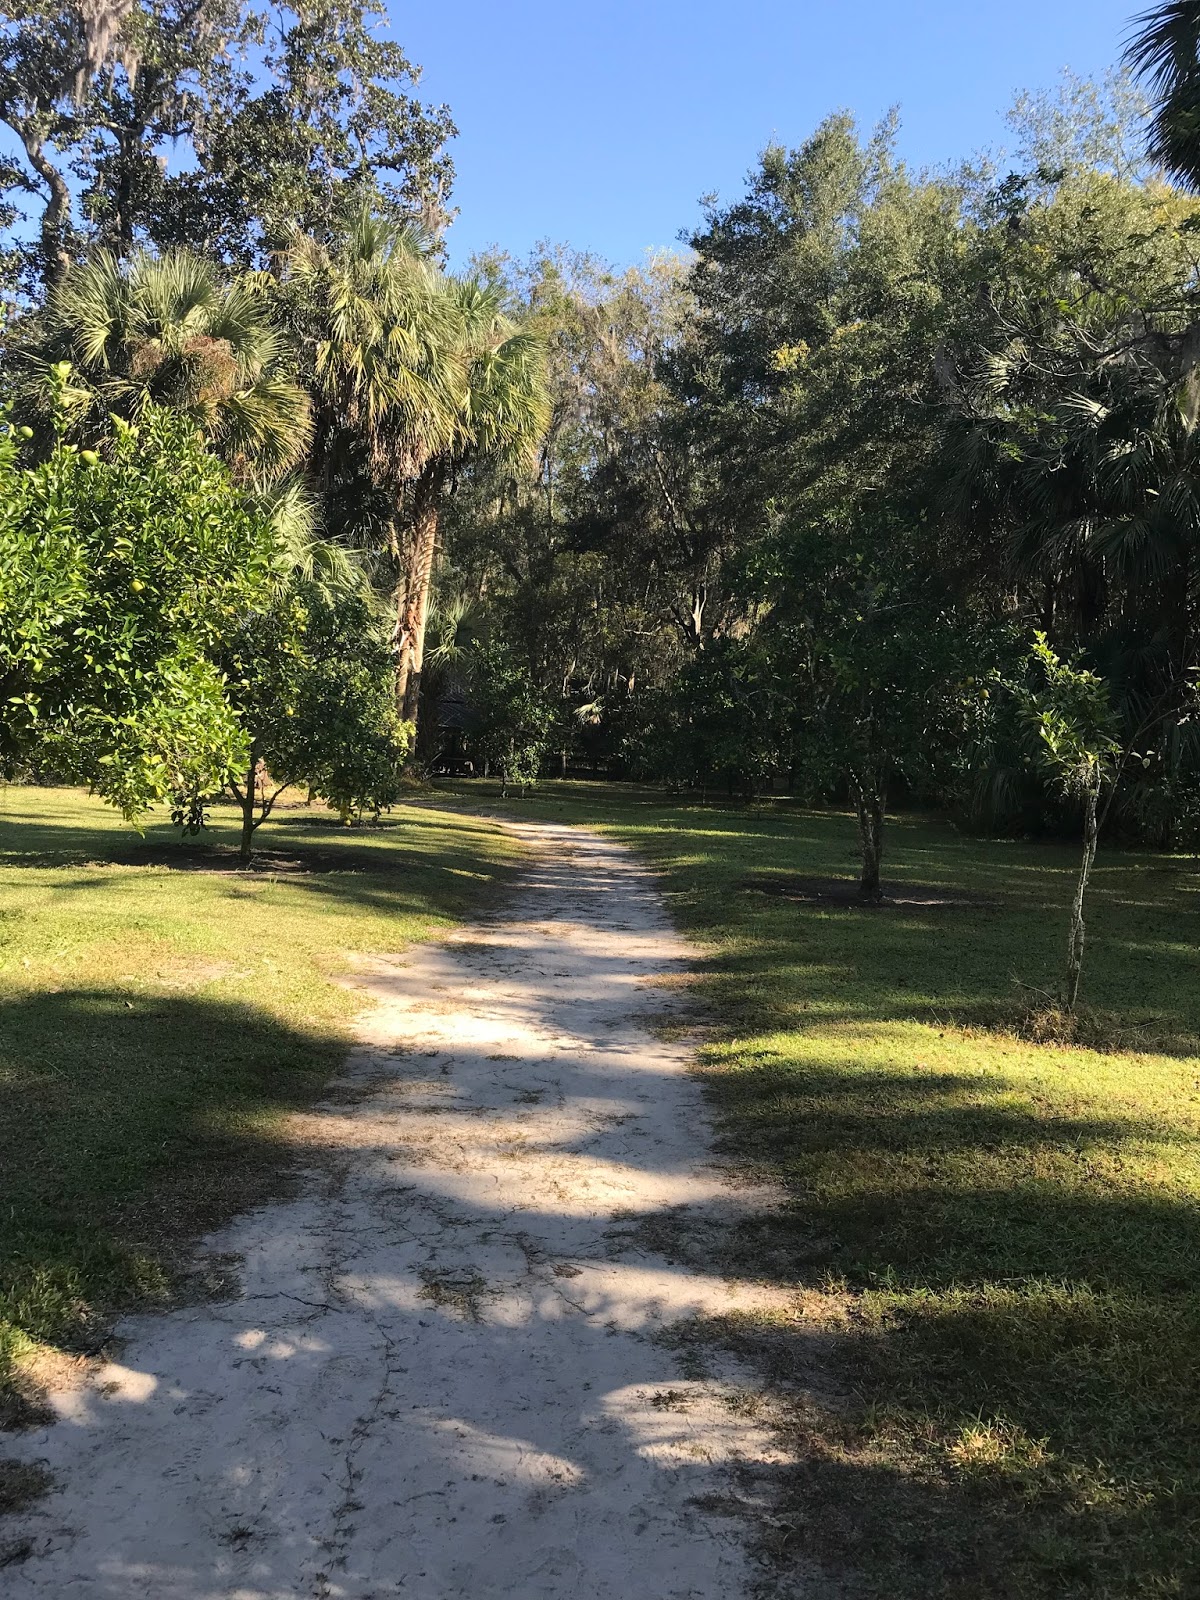
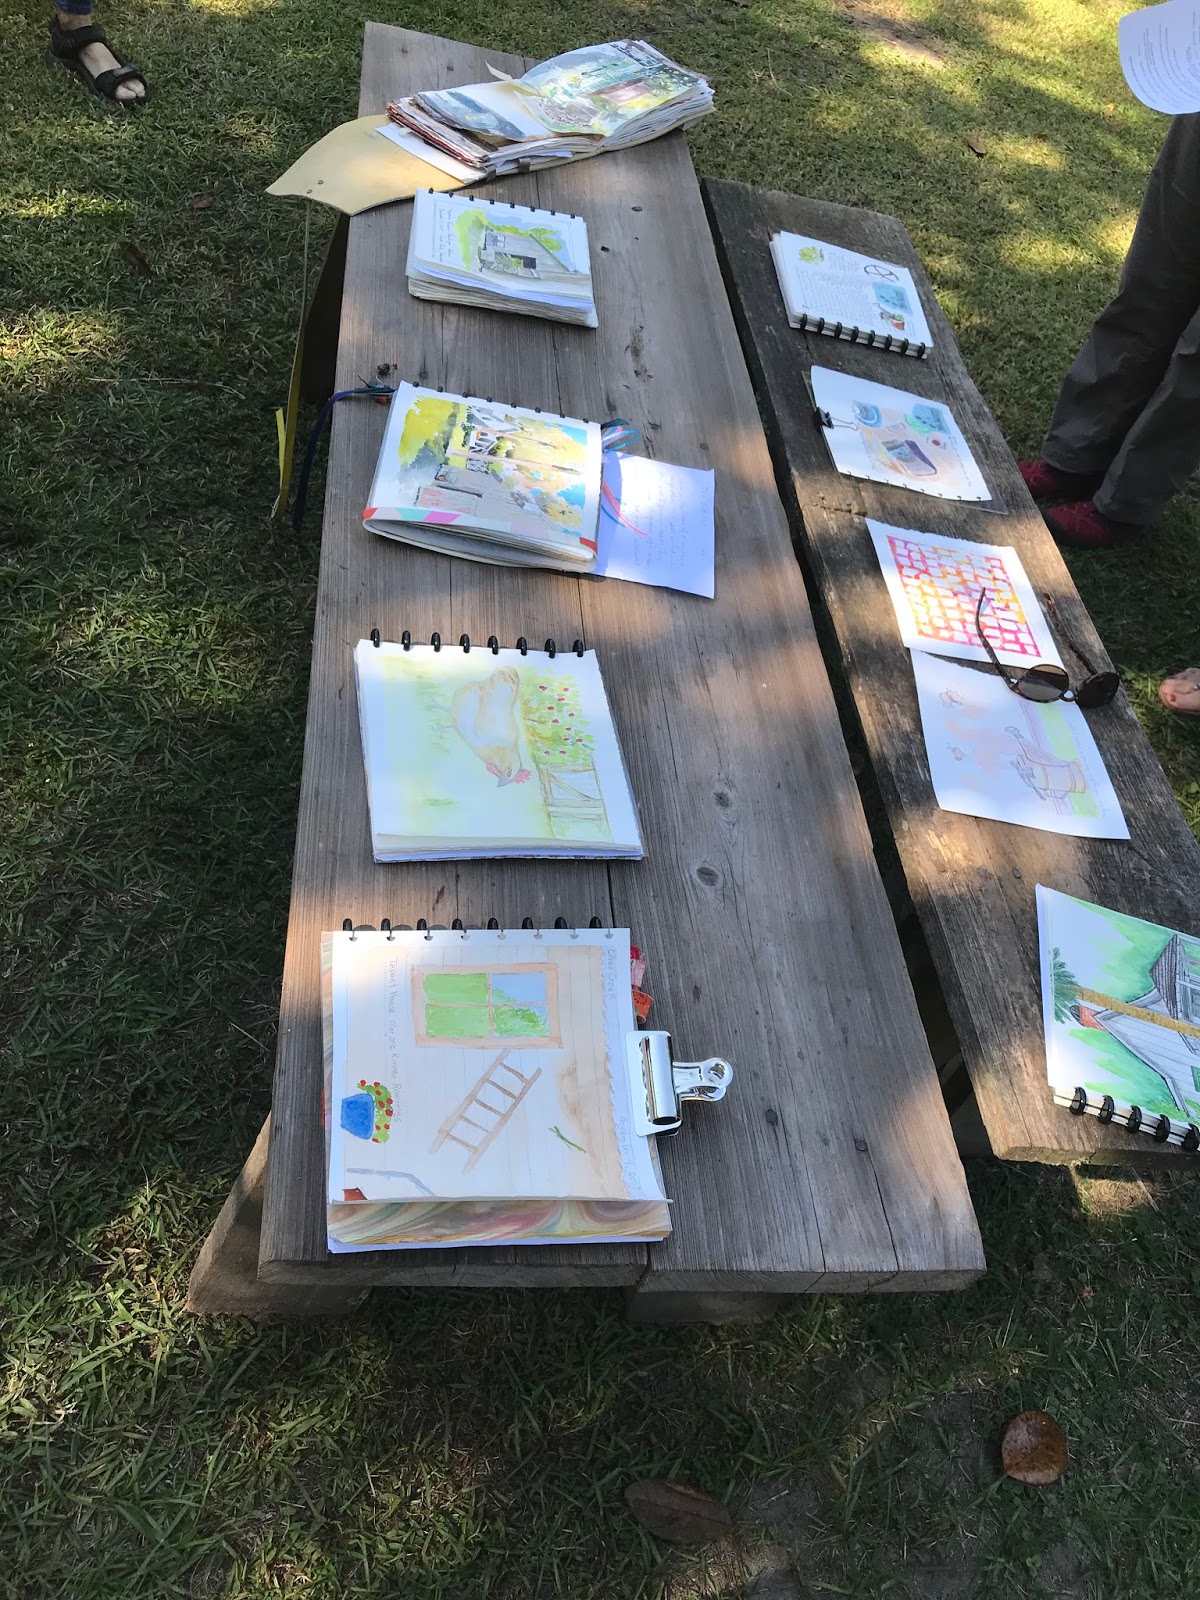
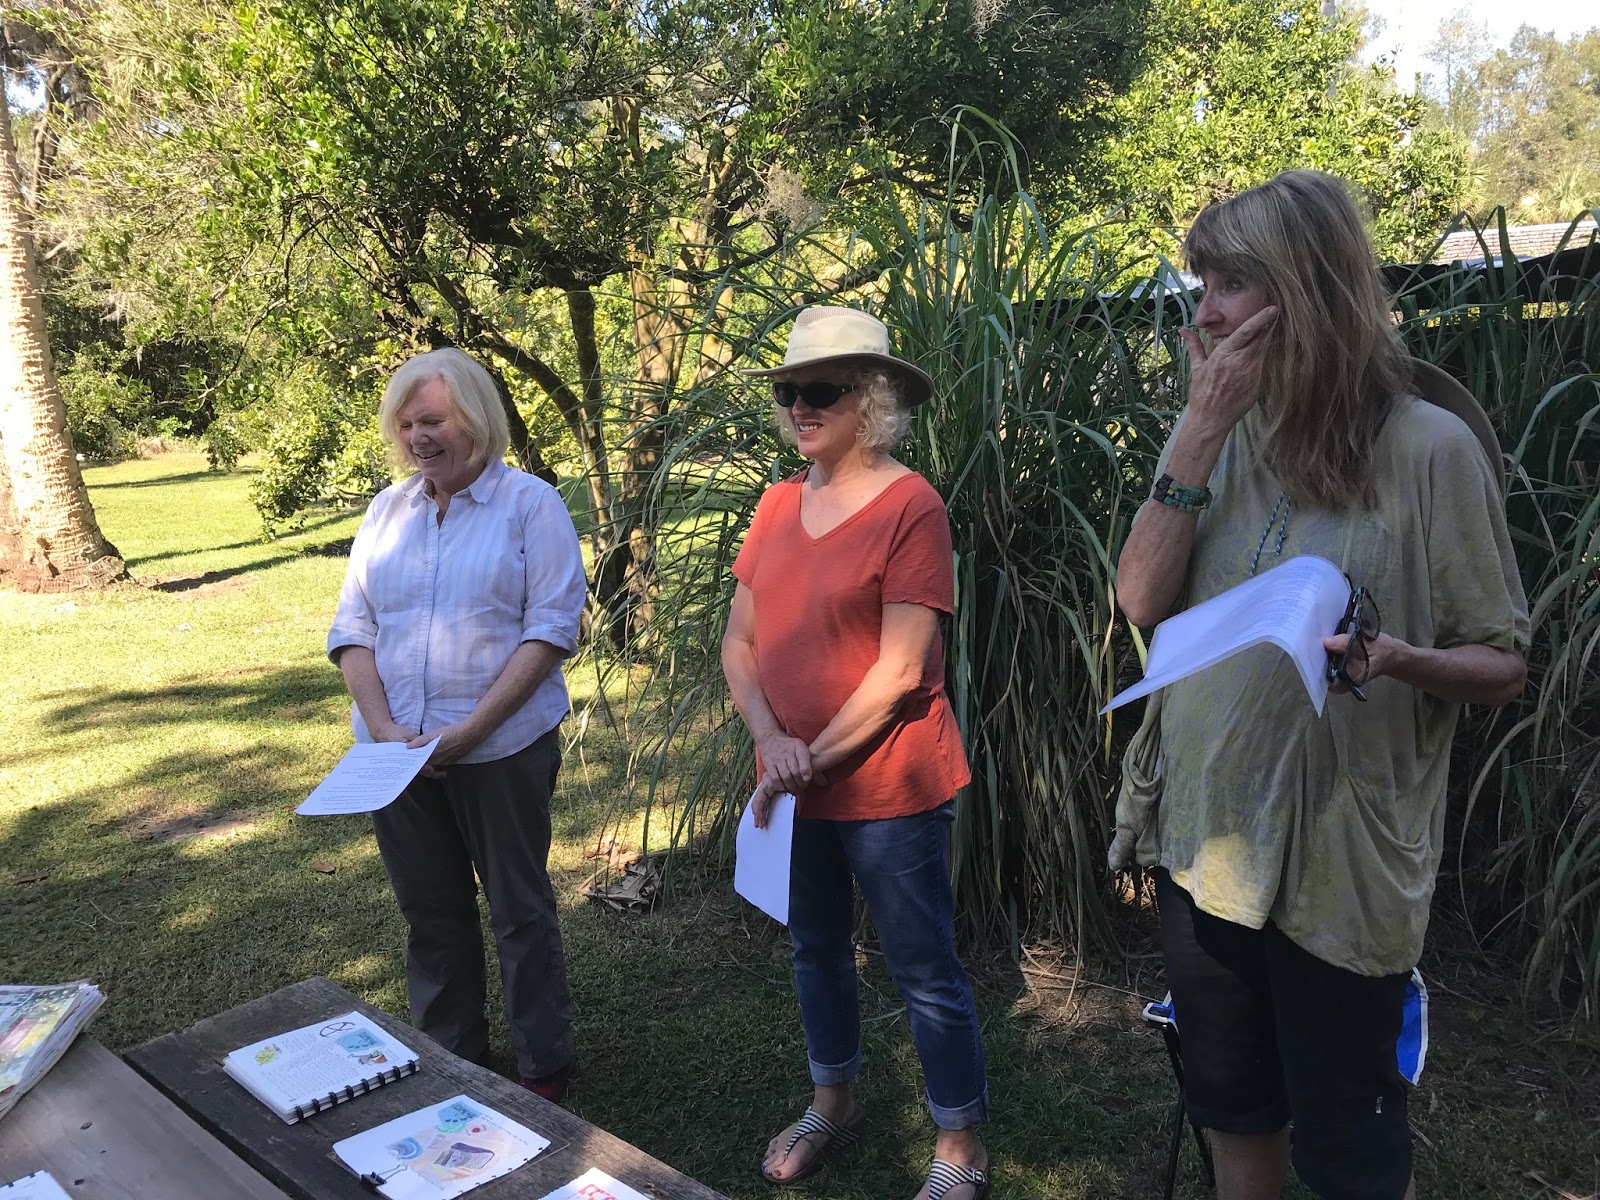
Hello creative friends. I hope everyone is having a great week. My week is going well. This week I have 3 tags and an art journal page I creating. The art journal page I created while out with the Journey Daybook club. The Journey Daybook club met at a park that has a farm once owned by a writer. We took a tour of the house and then spend some time art journaling. I drew a part of the house and then used watercolors to color it in. Here is a picture of the art journal page that I created and some other pics from the outing.
And the tags I made using Dina Wakley stamps, a Dina Wakely Stencil and Recollections Watercolor brush pens I recently bought. I also used my Prismacolor pencils, Artistrove watercolor set, Pentel markers and Basic modeling paste. Here is a picture of the tags I made.
And here is a video showing how I created these tags.
I had a lot of fun with the Journey Daybook outing and creating the art journal page. I also had a lot of fun creating these tags. Not sure what I am going to do with them, but they were fun to make. Thank you for stopping by and checking out my video. I hope you have a great week. Until next time, Happy Creating.
Hello creative friends. Hope everyone is having a good week. My week is going well. This week I have a bible journaling page that I created. I've been seeing people using their bibles to do art journaling and I thought I would like to try it myself. I went to a local Christian store and found that they have bibles designed specifically for journaling in. I found a beautiful bible that already had designs printed on some of the pages to get you started. I also found a kit with stuff in it for bible journaling that I bought to get started with. So I colored some of the pre-printed pages using colored pencils. Then I decided to dive in and create a page using paint and stickers and found I enjoyed it. So I decided to do another page and create a video showing how I made the page. I used gelatos, stickers, washi tape and stamping. Here is a picture of the page I created.
And here is the video showing how I made this page.
I really like the way it turned out and had fun creating it. Have you tried bible journaling yet? Thank you for stopping by and I hope you have a great week. Until next time, Happy Creating.
Hello creative friends. I hope everyone is having a good week. My week is going well. This week I have a set of SoulCollage cards that I created. I saw an article where people were creating these and decided to purchase the book and a set of cards to create my own set. I searched through my stash of ephemera for pictures that appealed to me. I affixed them to the cards and then searched my stash for quotes that went with each card. I then used my Posca pens to outline some of the pictures and quotes. And then used acrylic paint to paint the edges of the cards. Here are pics of the cards I created.
And here is a video showing how I created my cards.
I really like the way these cards turned out. Have you heard of or created any SoulCollage cards? I may make more cards at some point, they were a lot of fun to make. Thank you for stopping by and hope you have a great week. Until next time, Happy Creating.
Hello creative friends. Hope everyone is having a good week. Mine has been going well. This week I have a couple of steampunk panels I made using a couple of wood panels, die cuts of gears, modeling paste, a stencil, metallic paint, and ephemera from my stash. I had my husband cut up a pallet into wood panels that I could use for painting on or mixed media. I also got a new large gears die cut from Sizzix and a Stampendous Gears Stencil that I used for this project. After adding modeling paste through the stencil onto the panels and cutting out some gears with the die cut, I used metallic paint to color the panels and the die cut gears. I attached the gears to the panels with dimensional dots and then add a quote from my stash. Here are pictures of the panels I created.
And here is the video showing how I created these panels.
I also posted another video this week showing a flip through a Hummingbird journal that I made and have in my Etsy shop for sale. Here is the video of this journal.
I really like the steampunk panels that I created and have them displayed in my living room. And I really like the journal I made as well. I love all of the journals I make and enjoy making them and sharing them with others. I hope you like the videos and if you have any questions, please leave a comment. If interested in this journal or any of the journals I created please visit my Etsy shop at https://www.etsy.com/shop/JoysArt360 or You can connect with me on Instagram at https://www.instagram.com/joysart360/ if you have not done so already. I hope you have a great week. Until next time, happy creating.